.png)
To start us off, we are simply going to import data from our “Orders.csv” file (click here to download course data files if you haven’t already) using an Input Tool and then display the results using a Browse Tool. This is a simple and let’s face it, not very interesting workflow but it will become a step you will perform numerous times as part of larger and more complex workflows that hopefully will be interesting. Let’s get started.
Step 1:
Navigate to the “In/Out” tab on the Alteryx tool pallet.

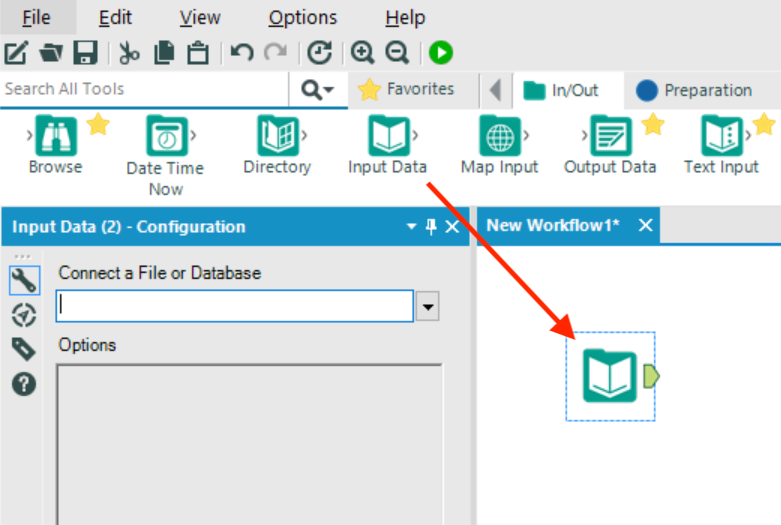
Step 2:
Find the “Input Data” tool and drag this onto the main workspace
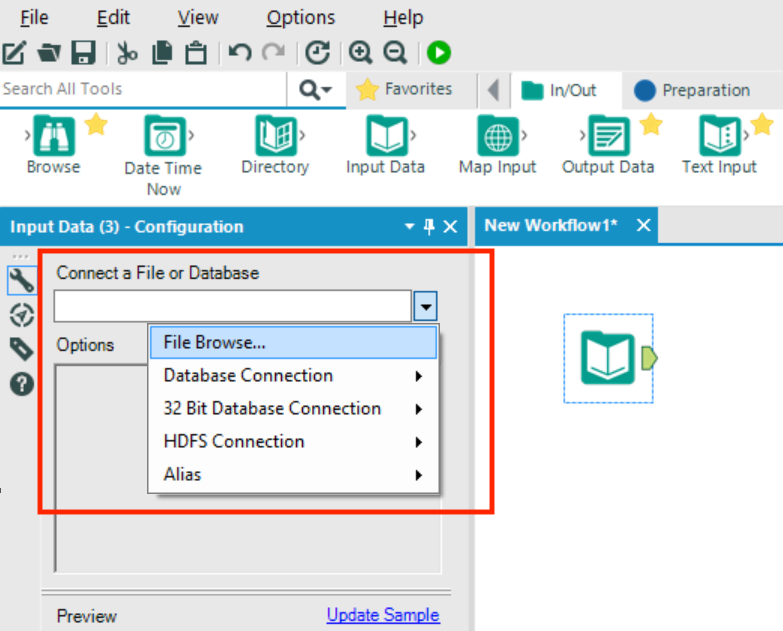
Step 3:
In the “Input Tool” configuration window click the arrow below “Connect a File or Database” then “File Browse…”. This will open the explorer window from where you can browse to find the order.csv file, wherever you have chosen to save this and select.
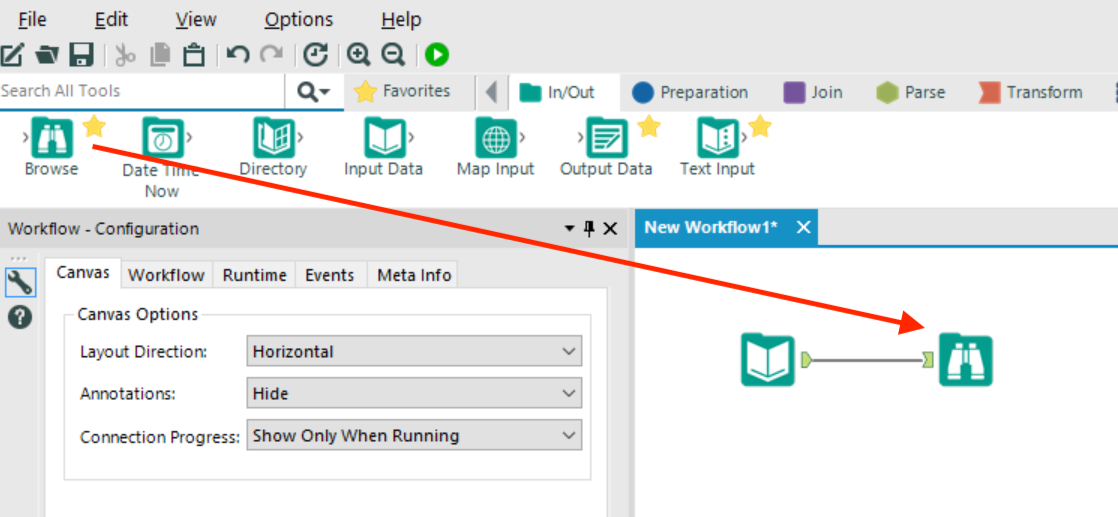
Step 4:
Next, drag the “Browse” tool from the tool pallet and onto the main workspace (somewhere near the input data tool) and drop. Alteryx should connect the tools through a connection wire. If the connection doesn't happen automatically, you can click and drag the connection wire from the output node of the Input Tool to the input node of the Browse Tool
Step 5:
The workflow is now ready to run so simply click the run icon on the toolbar or press Ctrl+R.
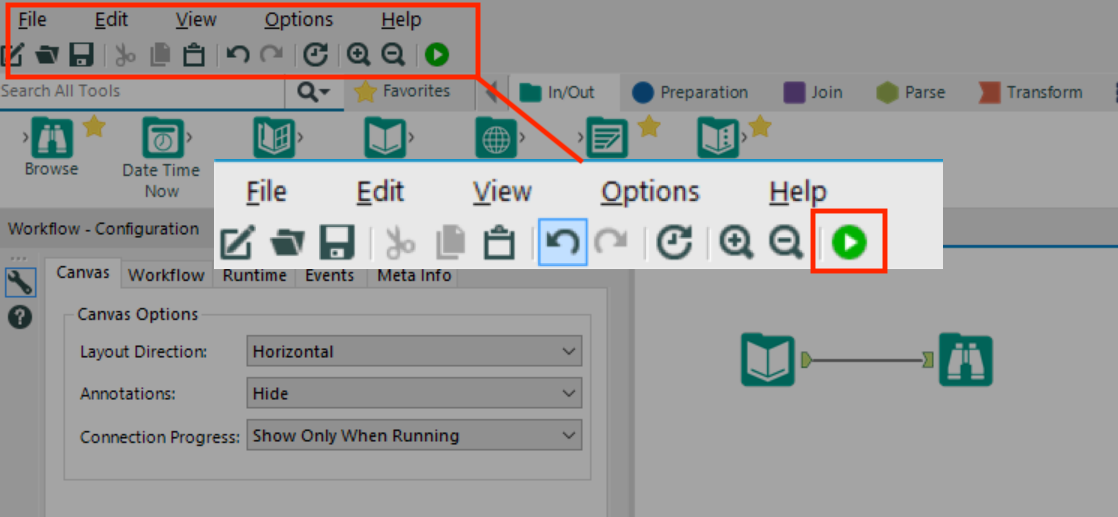
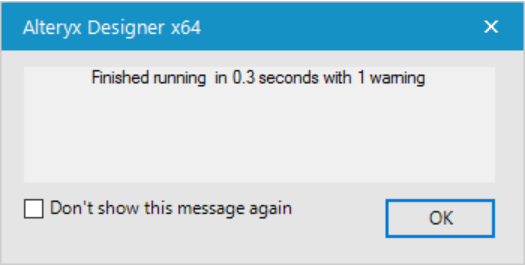
In less than a second you will get a message to tell you that Alteryx has finished running the workflow. If you get a warning, that’s fine, we’ll discuss that later.
If you have managed to do this without error then you have run your first Ateryx workflow.
Now let’s get an overview of the Alteryx Designer interface.